Maquetar un mapa

Introducción
Propiedades de un elemento insertado en el mapa
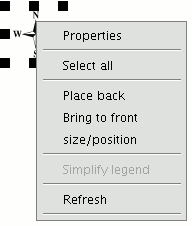
When the elements have been inserted in a map, you can access its properties.
Select the element. Right click to show its contextual menu and select "Properties".
Alinear elementos
You can access this tool by going to the “Map” menu, then to “Graphics” and to “Align”.
This tool can be used to modify the alignment, distribution and size of the map elements selected.
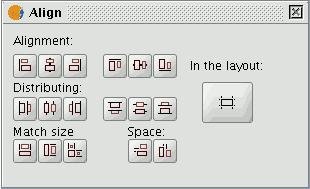
In the layout: If this button is enabled, the tools in the "Align" menu will use the map limits as a reference. If it is disabled, the selection will be used as the reference.
Alignment: The tools in this section allow you to align the selected graphics (place a series of objects on the same axis) according to your needs (left, horizontally centred, right, top, vertically centred and bottom).
Distribution: This allows you to space out objects at equal distances over a specific area. Match size: This allows you to modify the size of a selected object, using another object as a reference. The adjustments are made based on the largest object in the selection.
The object sizes can be made to coincide in width, height or both.
Space: This allows the selected elements to be “spatially distributed”.
If, for example, you decide to spatially distribute two selected elements in the map (using the active "In the layout" button), the objects will be moved to the same distance from the map’s left and right-hand margins when you click on the first option.
If we click on the second button, the images will be moved to the same distance from the top and bottom margins.
Agrupar y desagrupar
You can access this tool from the tool bar by clicking on the buttons

or by going to the “Map” menu, then to “Graphics” and to “Group” or “Ungroup”.
Colocar delante y detrás
You can access this tool by going to the “Map” menu then to “Graphics” and then to “Bring to front” or “Send to back” respectively or from the tool bar by clicking on the following buttons:

You can use this option to change the viewing order of the selected elements in the map by bringing them to the front or sending them to the back.
Enmarcar elementos
This tool draws a frame around a selected element or elements.
You can access this tool from the tool bar by clicking on the following button

or by going to the “Map” menu and then to “Graphics” and "Graphic line".
The available options are shown in the following dialogue box:
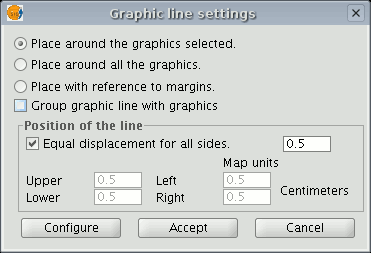
The different options include a check box which allows you to group the graphic line and the object you have inserted in the map so that they make one single element and not two separate ones.
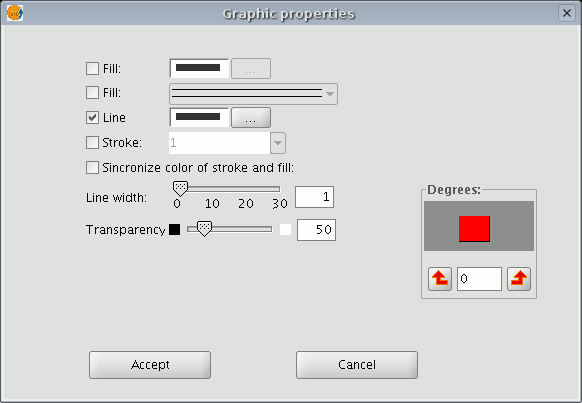
If you click on the “Configure” button, another dialogue box appears which can be used to define the properties of the graphic line or frame to be inserted.
Select the properties and click on the “Ok” button if you wish to use the new configuration or "Cancel" if you wish to maintain the default values.
Modificar tamaño y posición
You can access this tool by going to the tool bar and clicking on the following button

or by going to the “Map” menu then to “Graphics” and to “Size/Position”.
This tool opens a dialogue box which allows you to specify the size and position of the selected element.
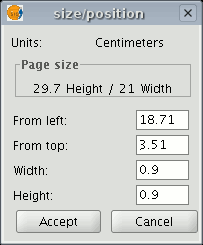
You can edit the different text fields and modify and specify the object’s size and position.
-----------------------------------
- Error 'You are not allowed to access 'getId' in this context' accediendo al documento Introducción, [Manual de usuario, Mapas, Maquetar un mapa, Introducci\xf3n]
